Are you a fan of Brazilian cuisine, but follow a vegan lifestyle? Look no further! In this article, we have an incredible vegan Coxinha recipe that will satisfy your cravings for this traditional Brazilian dish. Coxinha is a popular snack made with shredded chicken, but we have crafted a delicious plant-based alternative that will blow your taste buds away. Get ready to impress your friends and family with this mouthwatering vegan version of Coxinha that captures all the flavors and textures of the original recipe. Let’s get cooking!
Ingredients
To make delicious vegan Coxinhas, you will need the following ingredients:
Cassava flour
Cassava flour is the main ingredient in Coxinhas, providing a gluten-free and starchy base for the dough.
Vegetable oil
Vegetable oil is essential for frying the Coxinhas to crispy perfection.
Onion
Onions add a savory flavor to both the dough and the filling of the Coxinhas.
Garlic
Garlic enhances the taste of the Coxinhas and adds a delicious aroma.
Vegetable broth
Vegetable broth is used to moisten the dough and give it a rich, savory taste.
Nutritional yeast
Nutritional yeast adds a cheesy and nutty flavor to the dough, reminiscent of traditional Coxinhas.
Lime juice
Lime juice adds a tangy and refreshing twist to the Coxinhas.
Turmeric
Turmeric gives the Coxinhas a vibrant yellow color and adds a subtle earthy taste.
Salt
Salt enhances the flavors of all the ingredients and is key to achieving a well-seasoned dish.
Black pepper
Black pepper adds a hint of spiciness and elevates the overall flavor profile of the Coxinhas.
Filling
The filling is what makes Coxinhas truly special. Here’s what you’ll need for the irresistible vegan filling:
Hearts of palm
Hearts of palm serve as the main ingredient in the filling, providing a meaty and satisfying texture.
Onion
A generous amount of chopped onion adds a sweet and aromatic taste to the filling.
Garlic
Garlic gives the filling a bold and robust flavor that perfectly complements the other ingredients.
Vegetable oil
Vegetable oil is used for sautéing the onion and garlic, creating a flavorful base for the filling.
Black olives
Black olives add a burst of briny and tangy flavor to the filling, making each bite irresistible.
Tomato paste
Tomato paste adds a rich and slightly sweet taste to the filling, enhancing its overall depth of flavor.
Vegetable broth
Vegetable broth is added to the filling to create a moist and succulent texture.
Salt
Salt is used to season the filling and bring out the natural flavors of the ingredients.
Black pepper
Black pepper adds a subtle kick to the filling, enhancing its overall taste.
Dough Preparation
To prepare the dough for the Coxinhas, the following steps should be followed:
Mixing cassava flour and vegetable oil
In a mixing bowl, combine the cassava flour and vegetable oil. Mix well until the two ingredients form a crumbly texture.
Sautéing onion and garlic
In a skillet, sauté the chopped onion and garlic in vegetable oil until they become translucent and fragrant.
Preparing vegetable broth
In a separate saucepan, prepare the vegetable broth according to the package instructions or homemade recipe.
Adding nutritional yeast, lime juice, turmeric, salt, and black pepper
To the mixing bowl with the cassava flour and vegetable oil, add the nutritional yeast, lime juice, turmeric, salt, and black pepper. Mix until all the ingredients are well incorporated.
Combining all ingredients
Gradually pour the sautéed onion and garlic mixture and the vegetable broth into the mixing bowl with the other ingredients. Mix well until a smooth and pliable dough forms.
Filling Preparation
To prepare the filling for the Coxinhas, follow these steps:
Chopping hearts of palm, onion, garlic, and black olives
Finely chop the hearts of palm, onion, garlic, and black olives. This will ensure that the filling is evenly distributed and adds texture to each bite.
Sautéing onion and garlic in vegetable oil
In a skillet, sauté the chopped onion and garlic in vegetable oil until they become soft and fragrant.
Adding hearts of palm, black olives, and tomato paste
Add the chopped hearts of palm, black olives, and tomato paste to the skillet. Stir well to combine all the ingredients.
Pouring vegetable broth, salt, and black pepper
Gradually pour the vegetable broth into the skillet, followed by the salt and black pepper. Stir well to coat all the ingredients and let the mixture simmer until it thickens slightly.
Cooking until the mixture thickens
Continue cooking the filling over medium heat until it reaches a thick and cohesive consistency. This will ensure that the filling holds its shape when placed inside the Coxinhas.
Assembling the Coxinhas
Assembling the Coxinhas requires careful attention to detail. Here’s how you do it:
Rolling dough into small circles
Take a small portion of the prepared dough and roll it between your palms to form a small circle, about the size of a golf ball.
Placing a spoonful of filling in the center
Place a spoonful of the prepared filling in the center of the dough circle. Be careful not to overfill, as it may cause the Coxinha to burst during frying.
Folding and shaping the dough around the filling
Bring the edges of the dough circle together and fold them over the filling. Gently shape the Coxinha into a teardrop shape, tapering towards one end.
Sealing the edges
Pinch the edges of the dough together to seal the Coxinha tightly. Make sure no filling is exposed, as it may cause the Coxinha to burst during frying.
Repeating the process for all Coxinhas
Repeat the rolling, filling, folding, shaping, and sealing process for the remaining dough and filling, until all the Coxinhas are assembled.
Cooking the Coxinhas
To cook the Coxinhas to their golden and crispy perfection, follow these steps:
Heating vegetable oil in a deep pan
Heat vegetable oil in a deep pan over medium heat until it reaches a temperature of 350°F (175°C). Use enough oil to fully immerse the Coxinhas.
Frying the Coxinhas until golden brown
Carefully place the assembled Coxinhas into the hot oil, a few at a time, ensuring that they are completely submerged. Fry them until they turn a deep golden brown, typically around 5-6 minutes.
Draining excess oil on paper towels
Once the Coxinhas are cooked, use a slotted spoon to remove them from the hot oil. Place them on paper towels to drain excess oil.
Serving Suggestions
To make your vegan Coxinhas the star of the show, here are some serving suggestions:
Garnishing with fresh herbs
Sprinkle fresh herbs, such as parsley or cilantro, on top of the Coxinhas to add a vibrant and aromatic touch.
Serving with vegan dipping sauces
Serve the Coxinhas with an array of vegan dipping sauces, such as spicy mayo, barbecue sauce, or salsa verde, to add different flavors and levels of heat.
Accompanying with a side salad
Serve the Coxinhas alongside a crisp and refreshing side salad to complement the richness of the dish. A simple mixed greens salad with a tangy vinaigrette works wonderfully.
Variations
If you’re feeling adventurous, here are some variations you can try with your vegan Coxinhas:
Adding vegan cheese to the filling
For an extra indulgent twist, add a sprinkle of vegan cheese to the filling mixture. This will create a gooey and savory surprise inside each Coxinha.
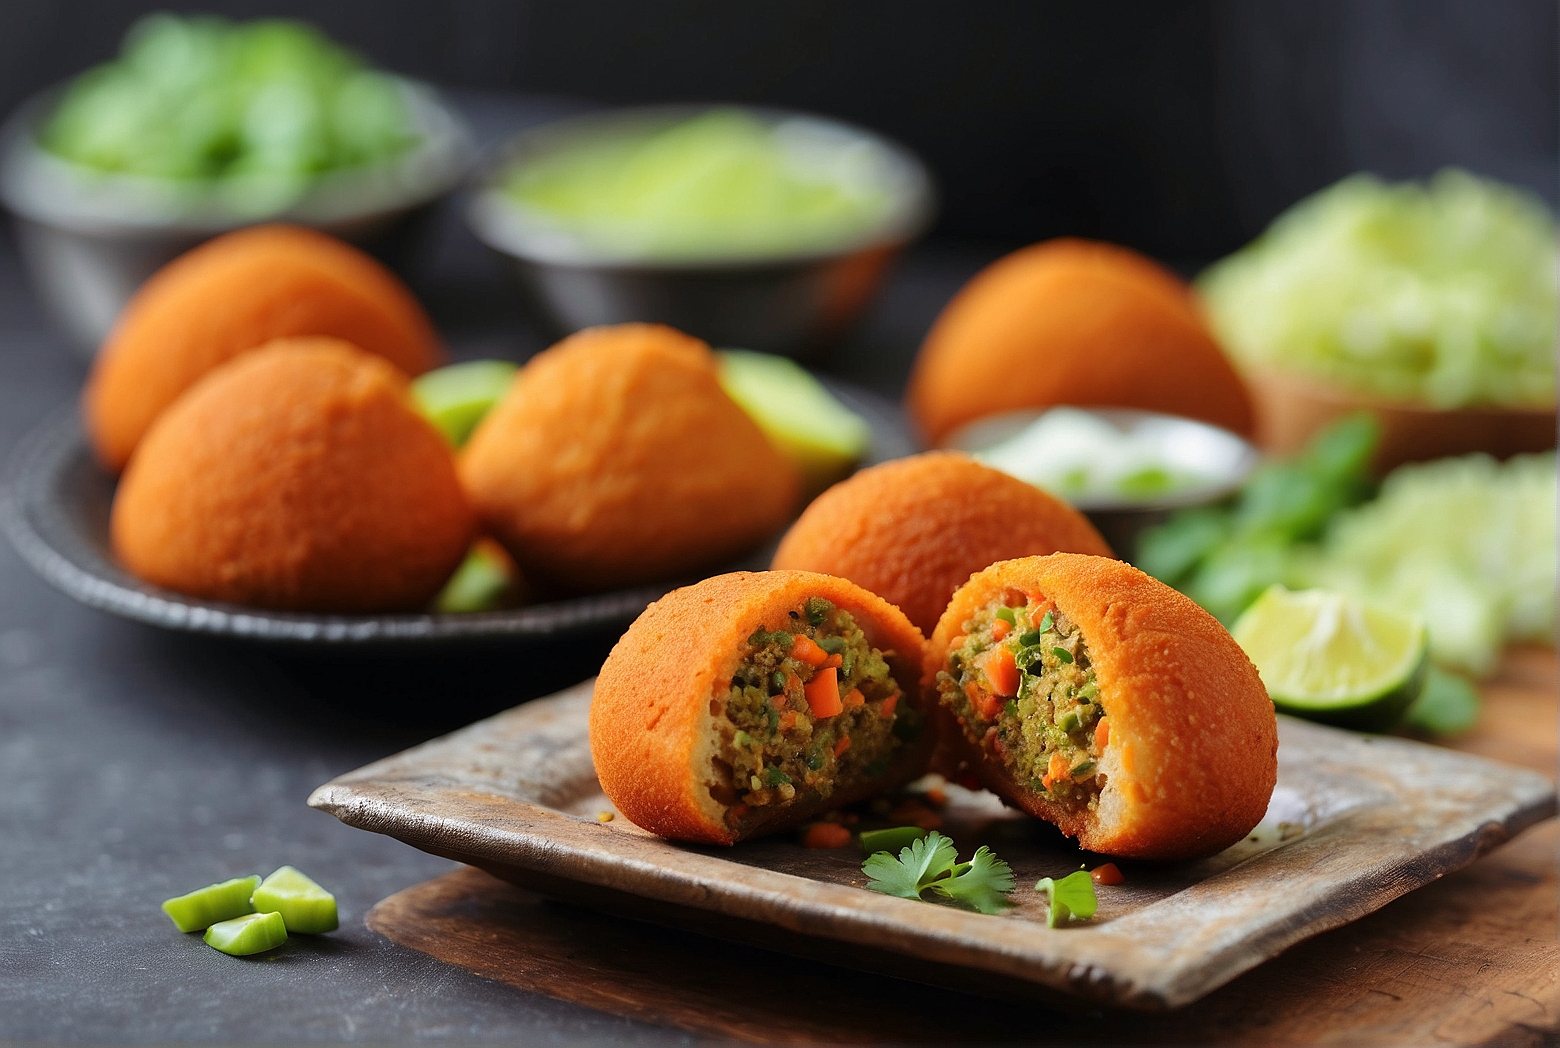
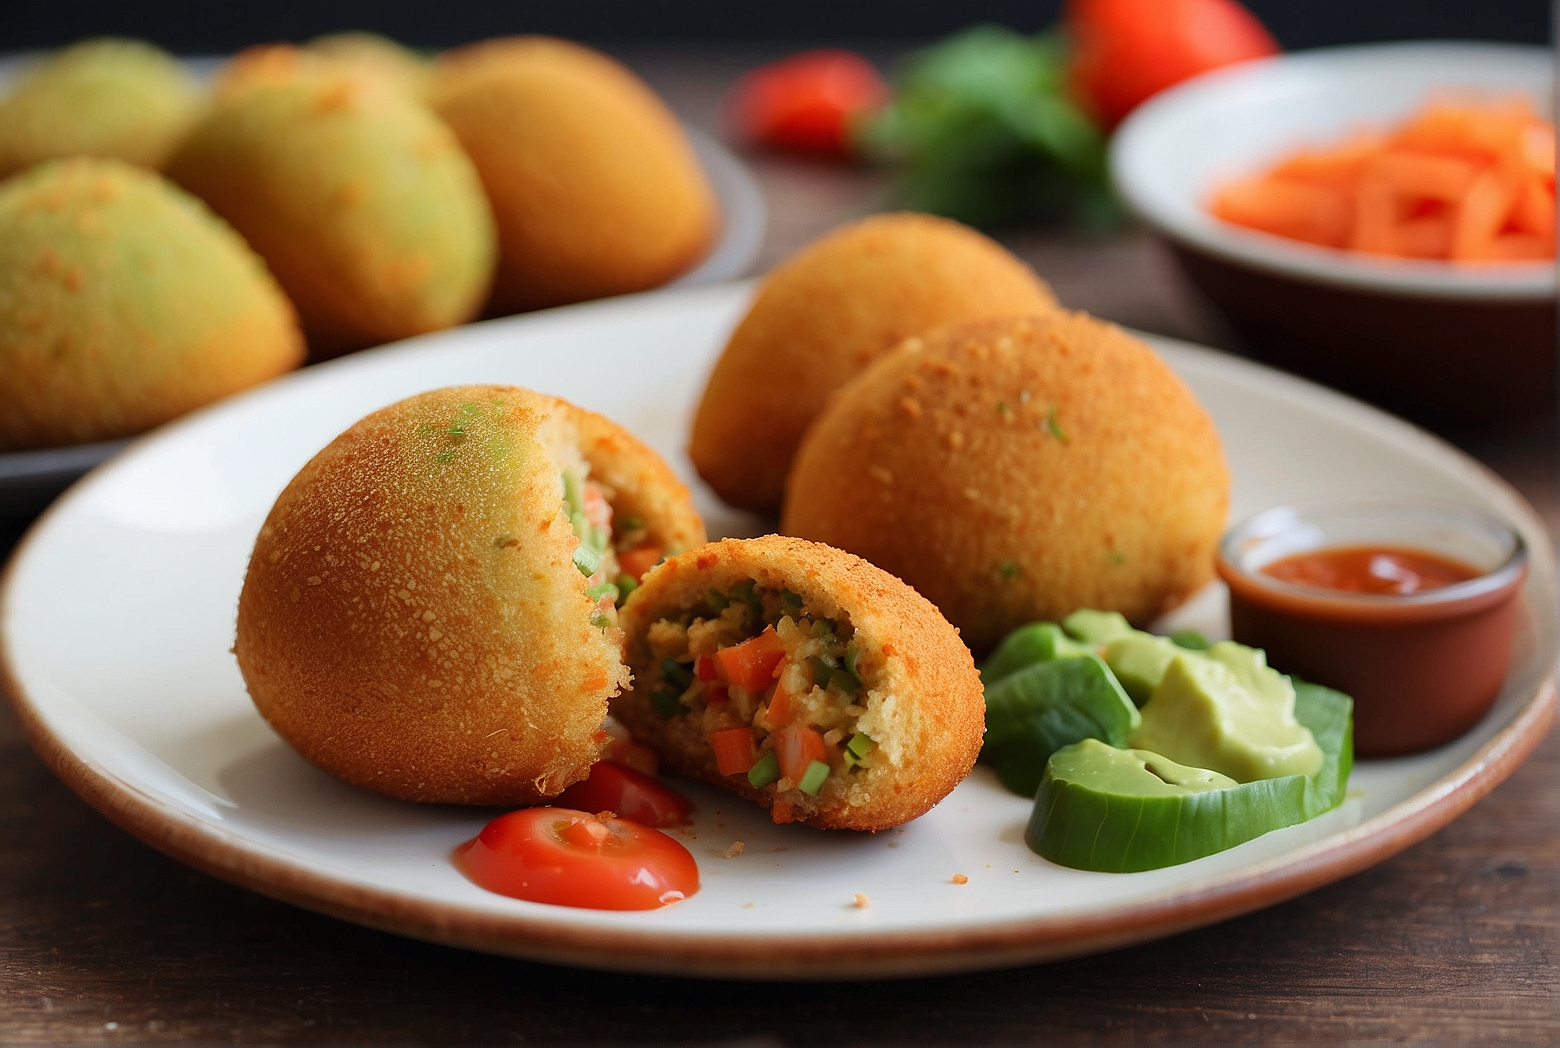
Including diced vegetables in the filling
Add diced vegetables, such as bell peppers, carrots, or corn, to the filling for added texture and flavor. Sauté the vegetables along with the onion and garlic for a delightful medley of tastes.
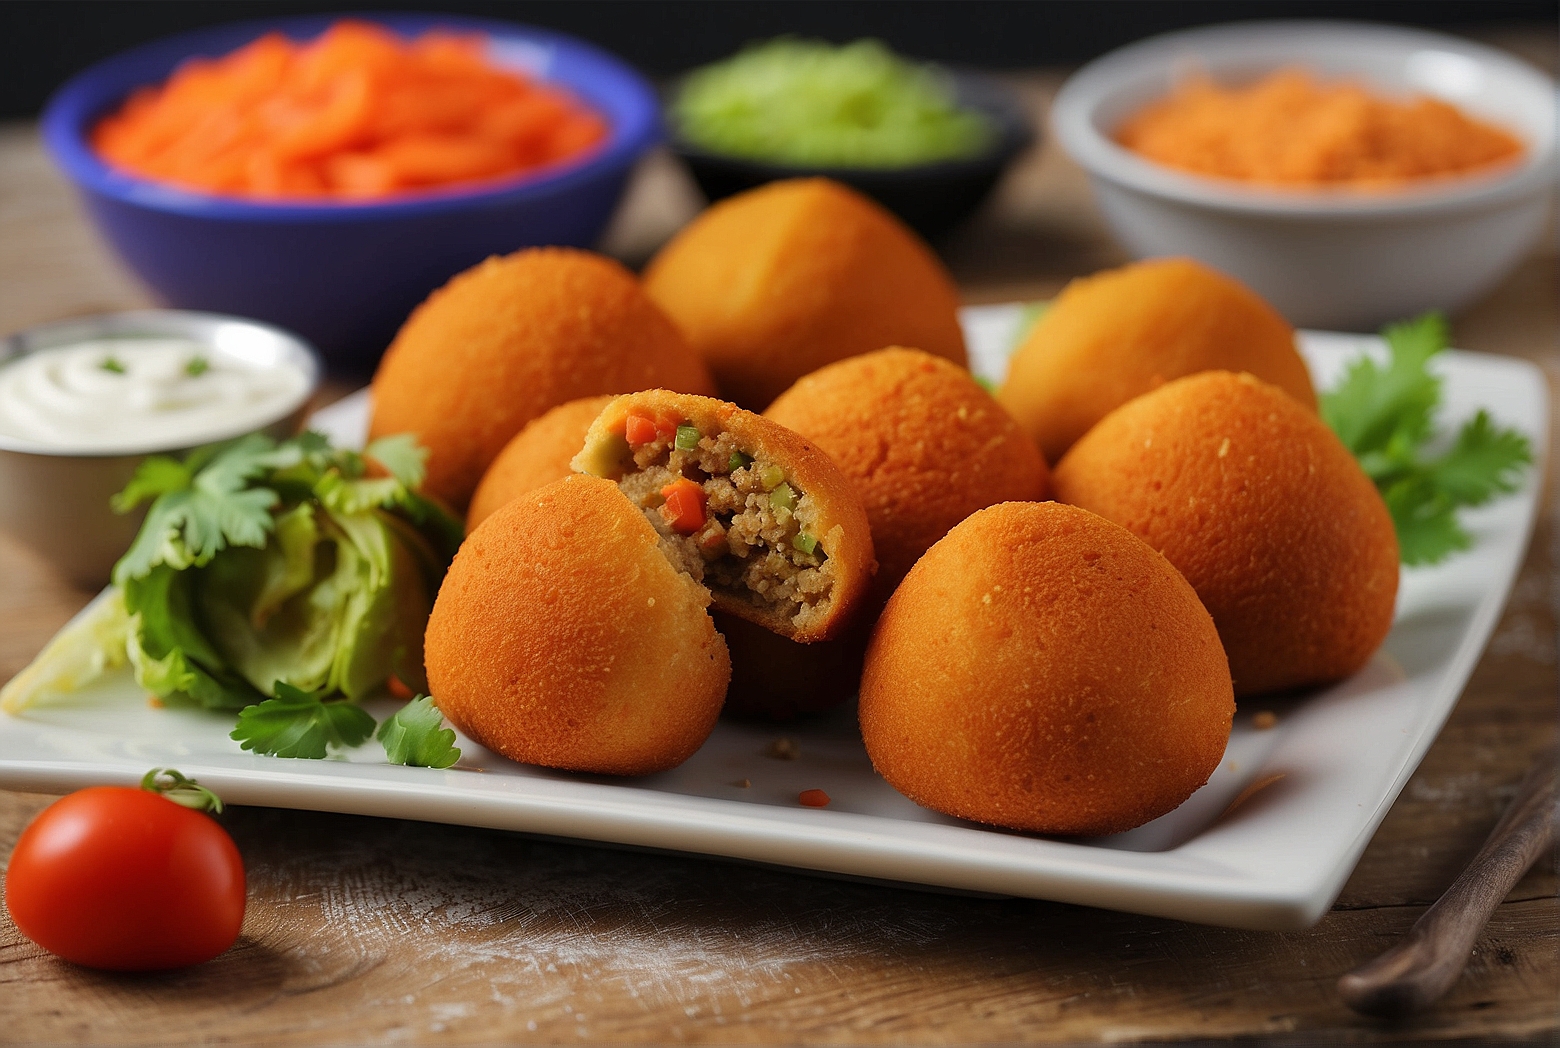
Making mini Coxinhas for bite-sized snacks
Instead of making large Coxinhas, you can shape the dough and filling into smaller portions for bite-sized snacks. These mini Coxinhas are perfect for parties or as a fun appetizer.
Storage
If you have any leftover Coxinhas, here’s how you can store and reheat them for later enjoyment:
Refrigerating leftover Coxinhas in an airtight container
Place any uneaten Coxinhas in an airtight container and store them in the refrigerator. This will help maintain their freshness and prevent them from drying out.
Reheating in the oven for a few minutes before serving
To reheat the refrigerated Coxinhas, preheat your oven to 350°F (175°C). Place the Coxinhas on a baking sheet and heat them for a few minutes until they are warmed through. This will restore their crispy texture and make them just as delicious as when they were freshly made.
Conclusion
Now that you have the step-by-step guide to making delicious vegan Coxinhas, it’s time to enjoy this flavorful and cruelty-free Brazilian dish! With the perfect combination of the cassava flour dough and the savory hearts of palm filling, these Coxinhas are sure to impress both vegans and non-vegans alike. So gather your ingredients, follow the recipe, and savor every bite of these irresistible treats. Boa apetite! (Enjoy your meal!)