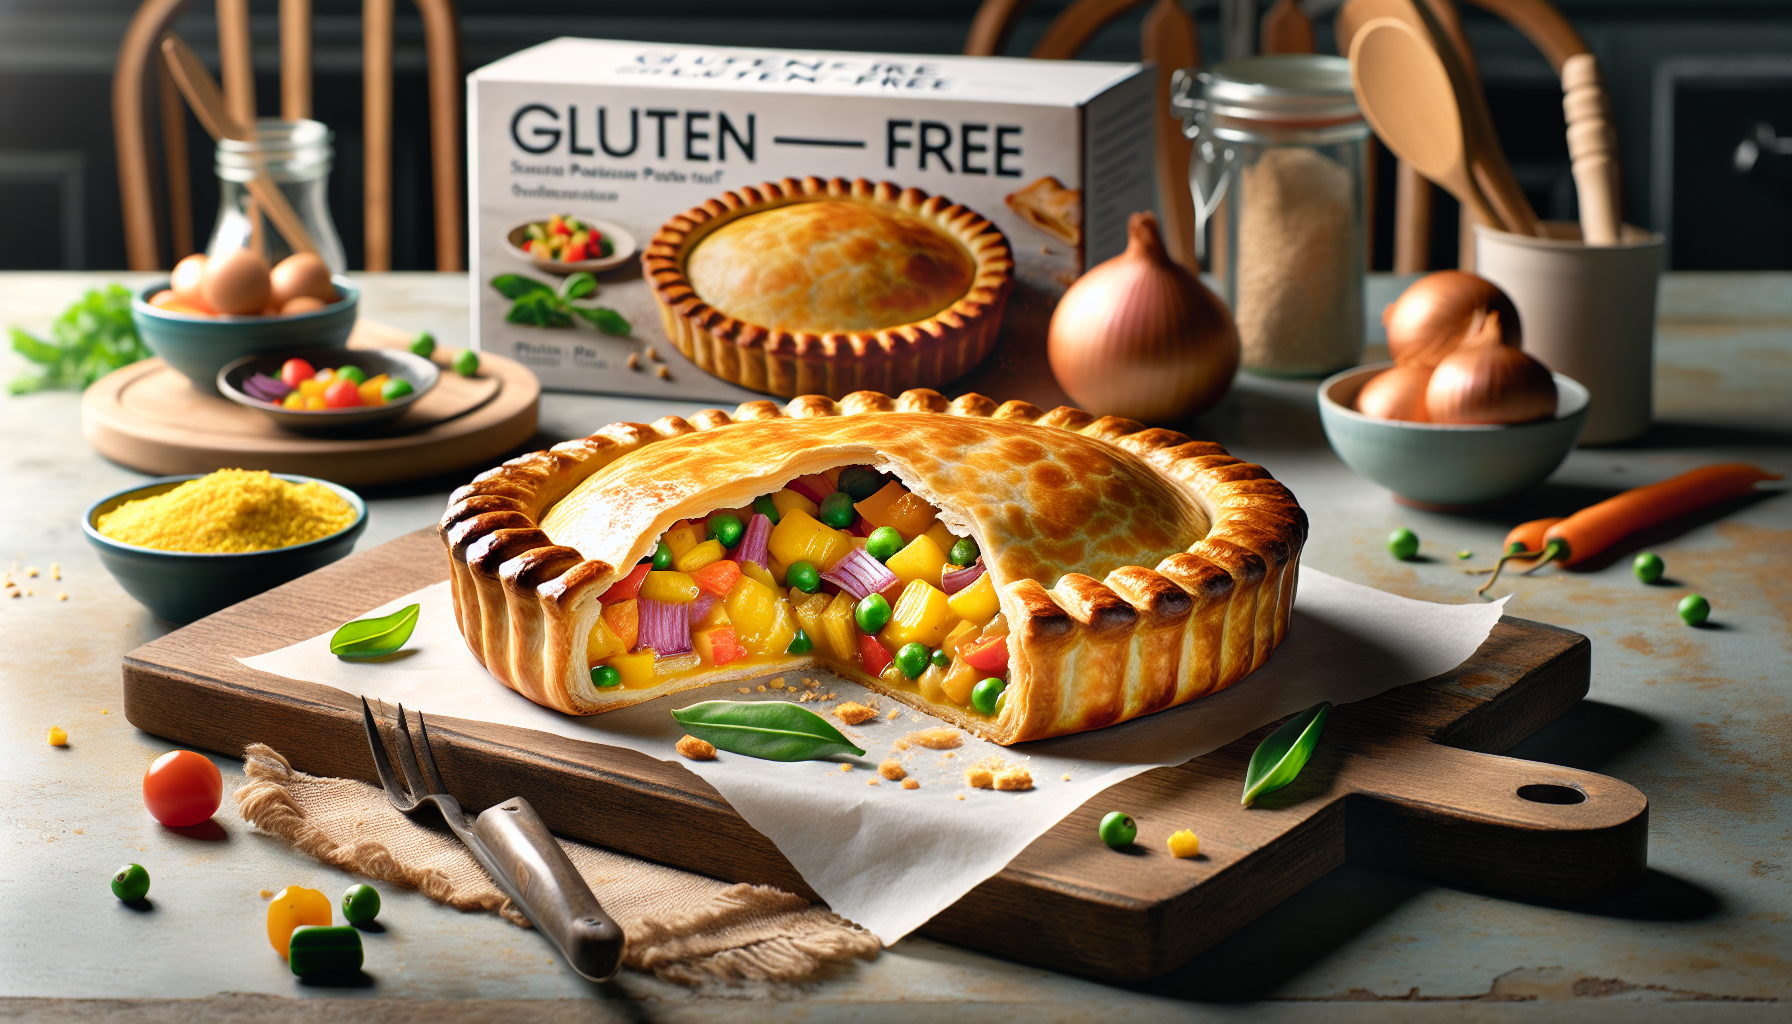
If you’re a fan of Brazilian cuisine and love to experiment with new recipes, then look no further! We have an incredibly delicious gluten-free pastel recipe that will transport you to the sunny beaches of Brazil. This mouthwatering dish is perfect for those who are gluten intolerant or simply looking to explore new flavors. With a crispy, golden crust and a delectable filling of your choice, these gluten-free pastels are sure to become a new favorite in your kitchen. So grab your apron, roll up your sleeves, and get ready to indulge in a taste of Brazil with this irresistible recipe.

Ingredients
To make delicious gluten-free pastels, you will need the following ingredients:
Gluten-free flour
The foundation of your pastel dough is gluten-free flour. You can choose a pre-made gluten-free flour blend or make your own by combining alternative flours such as rice flour, tapioca flour, and cornstarch. These gluten-free flours will provide the necessary structure and texture for your pastels.
Xanthan gum
To mimic the elasticity and binding properties of gluten, you will need to add xanthan gum to your dough. Xanthan gum is a common gluten substitute that helps improve the texture and prevent your pastel dough from crumbling.
Salt
A pinch of salt is essential to enhance the flavors in your pastels. It adds depth and balances the overall taste of the dish.
Water
Water is necessary to bring the dough together. Make sure to use cold water, as it helps in creating a flaky and tender crust.
Cooking oil
You will need cooking oil for frying or baking the pastels. Depending on your preference, you can use any neutral oil with a high smoke point, such as vegetable oil or canola oil.
Preparation
Let’s dive into the step-by-step process of preparing these mouthwatering gluten-free pastels:
Mixing the dough
In a large mixing bowl, combine the gluten-free flour, xanthan gum, and salt. Mix them together until well-incorporated. Gradually add cold water while continuing to mix until the dough starts to come together. You may need to adjust the water quantity depending on the consistency of your dough. The dough should be soft and slightly sticky.
Resting the dough
After mixing the dough, cover it with plastic wrap and let it rest at room temperature for about 30 minutes. This resting period allows the flours to hydrate fully, resulting in a more pliable and easier-to-work-with dough.
Preparing the filling
While the dough is resting, it’s time to prepare your desired filling. You can get creative with your fillings, using a variety of meats, vegetables, or even sweet options. Some popular fillings include ground beef, chicken, cheese, or a combination of vegetables. Make sure all the ingredients for your chosen filling are chopped, seasoned, and ready to go.
Filling the pastels
Once the dough is rested, divide it into smaller portions to make it more manageable. Roll out each portion into a thin circle or square. Place a spoonful of your prepared filling in the center of the dough. Be careful not to overfill, as it may cause the pastels to burst during cooking.
Sealing the pastels
To seal the pastels, fold one side of the dough over the filling, creating a half-moon shape. Press the edges firmly with your fingers or use a fork to crimp and seal the edges. Make sure the filling is enclosed entirely to prevent any leakage during cooking.
Cooking the Pastels
Now that your pastels are ready, it’s time to cook them to perfection. There are several cooking methods you can choose from:
Shallow frying
Heat a generous amount of cooking oil in a frying pan or shallow skillet. Gently place the pastels in the hot oil, cooking them on each side until golden brown and crispy. This method gives your pastels a delightful crunch.
Air frying
For a healthier alternative, you can opt to air fry your gluten-free pastels. Preheat your air fryer to the recommended temperature and place the pastels inside. Cook them until they are golden brown and crispy, flipping halfway through the cooking process.
Baking
If you prefer a lighter option, baking your pastels is the way to go. Preheat your oven to the desired temperature and brush the pastels with a little cooking oil or egg wash for a glossy finish. Place them on a baking sheet and bake until golden brown.
Serving Suggestions
Gluten-free pastels are incredibly versatile and can be enjoyed on their own or with a variety of dipping sauces and accompaniments. Here are some serving suggestions to take your pastel experience to the next level:
Dipping sauces
Offer a selection of dipping sauces to complement the flavors of your pastels. Common options include marinara sauce, hot sauce, chimichurri, aioli, or even a tangy homemade salsa. The choice of sauce can add an extra layer of flavor and enhance the overall enjoyment of your pastel.
Accompaniments
Serve your gluten-free pastels with an array of accompaniments to create a complete meal. Fresh salad greens, pickled vegetables, or even a side of fluffy rice are excellent choices that can balance the richness of the pastels. You can also add a squeeze of lemon or lime juice for a touch of acidity.

Variations
One of the fantastic aspects of pastels is their ability to cater to various dietary preferences and tastes. Here are some delicious variations you can try:
Meat fillings
For meat lovers, there are endless options when it comes to filling your gluten-free pastels. Experiment with flavorful combinations such as ground beef with onions and spices, shredded chicken with barbecue sauce, or even pulled pork with a tangy coleslaw.
Vegetarian fillings
Vegetarian fillings can be just as satisfying and delicious. Consider using a mix of sautéed vegetables such as bell peppers, onions, mushrooms, and zucchini. You can also incorporate vegetarian proteins like tofu or plant-based meat substitutes to add depth and texture.
Sweet fillings
If you have a sweet tooth, why not venture into the world of sweet pastels? Fill your gluten-free dough with delectable options like Nutella and banana, cream cheese with berries, or even a pumpkin spice filling. Dust them with powdered sugar after cooking for an extra touch of sweetness.
Tips and Tricks
Creating the perfect gluten-free pastels requires attention to detail and some helpful tips and tricks. Consider the following suggestions to ensure success in your pastel-making endeavors:
Gluten-free flour alternatives
If you don’t have access to a specific gluten-free flour blend, you can create your own by combining alternative flours like rice flour, almond flour, potato flour, or even chickpea flour. Feel free to experiment with different ratios to find the perfect blend that suits your taste preferences.
Sufficient resting time
Allowing the dough to rest is crucial, as it allows the flours to absorb the liquid and become more pliable. This resting period also contributes to a flakier and more tender crust in your pastels. Be patient and resist the temptation to skip this step.
Proper sealing techniques
To ensure your pastels stay intact during cooking, it’s important to seal them properly. Press the edges firmly to avoid any leakage, and use a fork to crimp and seal the edges securely. This will prevent the filling from spilling out and help maintain the desired shape.
Common Mistakes
Even with the best intentions, mistakes can happen in the kitchen. Here are some common pitfalls to avoid when making gluten-free pastels:
Using regular flour
It’s essential to use gluten-free flour when making gluten-free pastels. Regular flour contains gluten, which is harmful to those with gluten intolerance or celiac disease. Always double-check your ingredients to ensure you are using the proper flour.
Overfilling the pastels
Filling your pastels with too much filling can lead to disastrous results. Overfilled pastels are more likely to burst open during cooking, causing a mess and potentially compromising the texture of the dish. Stick to the recommended amount and resist the temptation to overstuff.
Inadequate frying time
If you are frying your pastels, make sure to give them enough time to cook and develop a crispy exterior. Rushing the frying process can result in undercooked dough and an unsatisfying texture. Keep an eye on the heat and adjust accordingly to achieve the perfect golden brown color.
Storage and Reheating
Sometimes, you may end up with leftover pastels or want to make a batch in advance. Here’s how you can store and reheat them for future enjoyment:
Refrigeration
If you have leftover cooked pastels, store them in an airtight container in the refrigerator. They can be kept for 2-3 days. When ready to eat, reheat them in a preheated oven or air fryer for a few minutes until warmed through.
Freezing
To freeze uncooked gluten-free pastels, arrange them in a single layer on a baking sheet and place them in the freezer until fully frozen. Once frozen, transfer them to a freezer-safe bag or container. Frozen pastels can be stored for up to 3 months. When ready to eat, cook them according to your preferred method, adding a few extra minutes to account for the frozen state.
Reheating methods
To reheat frozen or refrigerated pastels, you can either bake them in a preheated oven, air fry them, or even microwave them briefly. Ensure they are heated all the way through before serving. The reheating time may vary depending on the size and thickness of your pastels.
Gluten-Free Pastels for Special Diets
Gluten-free pastels are not only a delicious treat but also cater to specific dietary requirements. Here are some considerations for different dietary needs:
Celiac disease
For individuals with celiac disease, consuming gluten can cause severe health issues. By making gluten-free pastels, you provide a safe and enjoyable option for those who must follow a gluten-free diet due to this autoimmune disorder.
Gluten intolerance
Even without a diagnosed condition like celiac disease, many people experience discomfort and adverse reactions to gluten. Offering gluten-free pastels ensures that those with gluten intolerance can still savor this delectable snack without any harmful side effects.
Vegan adaptation
To accommodate a vegan diet, simply make a few modifications to the fillings and ensure that the gluten-free pastel dough does not contain any animal-derived ingredients. Use plant-based proteins, like tofu or tempeh, and experiment with various vegetable fillings to create a delightful vegan-friendly version.
History of Pastels
The history of pastels can be traced back to its origins in Brazil. These savory treats have a rich culinary influence and have gained popularity worldwide. Let’s explore the captivating history of pastels:
Origins in Brazil
Pastels originated in Brazil during the early 19th century. Its roots can be traced back to Portuguese and African culinary traditions brought to the country during colonization. The city of São Paulo especially embraced pastels, which eventually became a popular street food.
Culinary influence
The concept of pastels was influenced by the Portuguese empanadas and African samosas, which were typically stuffed with various fillings. Brazilian cuisine fused these culinary traditions together, resulting in the creation of pastels – deep-fried or baked delights filled with savory ingredients.
Popularity worldwide
Over time, pastels gained popularity not only within Brazil but also internationally. Their versatility, delicious fillings, and gluten-free adaptability have made them a favorite among food enthusiasts worldwide. Today, you can find variations of pastels in different countries and even on restaurant menus, showcasing the global appeal of these appetizing treats.
In conclusion, gluten-free pastels are a delightful and versatile dish that can be enjoyed by everyone, regardless of dietary restrictions. With the right ingredients, preparation methods, and cooking techniques, you can create golden-brown pastels filled with flavorful fillings. Whether you choose to shallow fry, air fry, or bake your pastels, they are sure to be a crowd-pleaser. Experiment with different fillings to cater to various tastes and dietary needs, and don’t forget to serve them with dipping sauces and accompaniments to enhance the overall experience. So, gather your ingredients, roll up your sleeves, and embark on a culinary journey with gluten-free pastels.